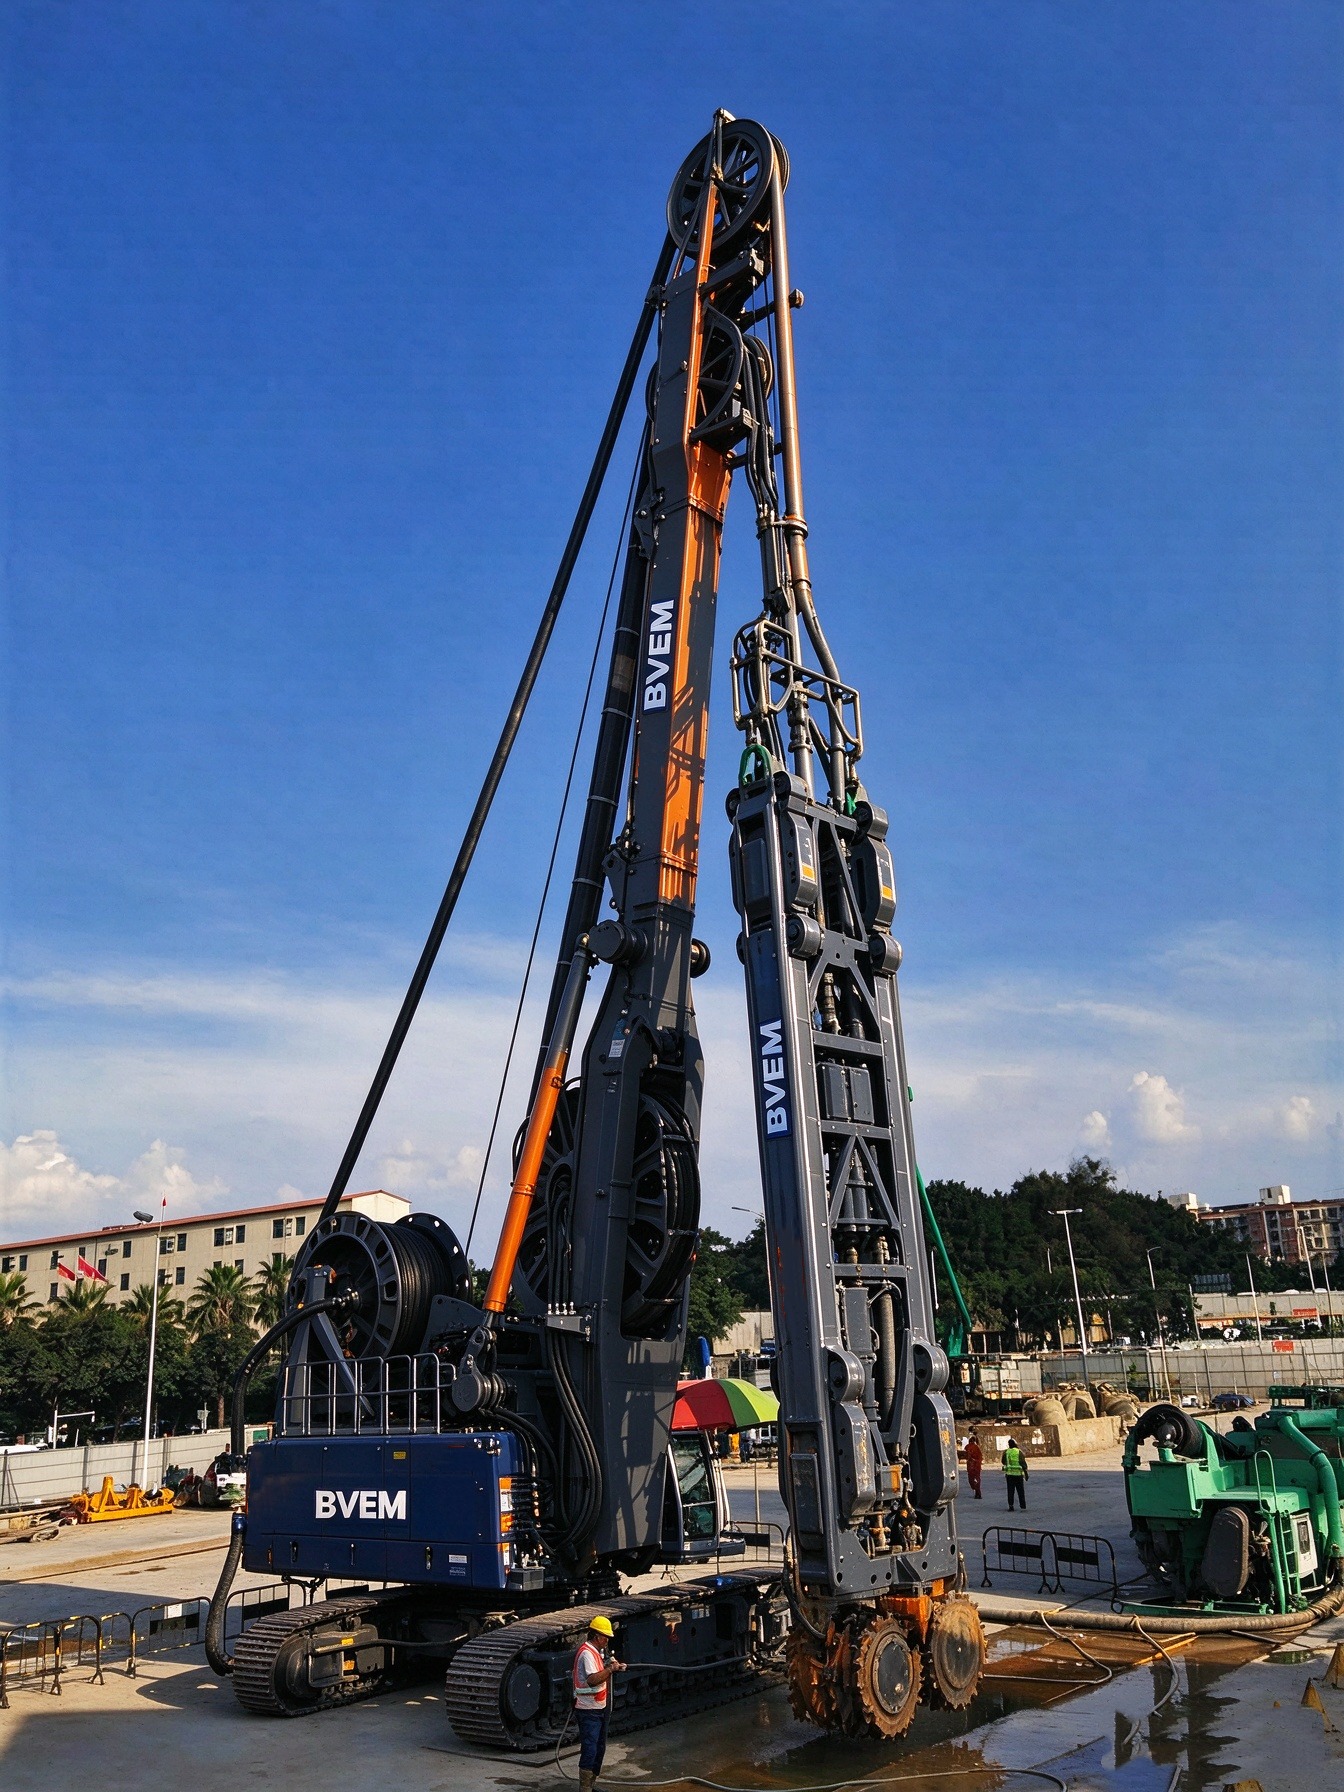
Diaphragm wall construction is a method for building reinforced concrete walls in the ground for foundations, basements, deep excavations, subway stations, tunnels, and other underground structures. The construction method, ground conditions, and equipment you use can all affect excavation performance and wall quality. This guide covers the main methods, construction process, equipment, and selection factors.
What Is the Diaphragm Wall Construction Process?
Diaphragm wall construction takes place one panel at a time. Each panel involves several steps. Before excavation starts, you must examine the site conditions, set up the guide wall, and prepare the slurry system. The main construction process is divided into seven steps.
Step 1. Site Investigation and Setting Out
Before work begins, you need to check the soil and rock conditions, groundwater level, required diaphragm wall depth and thickness, and available space for construction equipment. Then, mark the diaphragm wall position according to the design. This information helps you plan the excavation sequence and choose the right equipment for the site.
Step 2. Guide Wall Construction
A guide wall is built along the planned diaphragm wall alignment. It defines the position and width of the trench and guides the excavation equipment during trenching. A properly constructed guide wall helps keep the excavation in the correct position and makes it easier to control the alignment of the diaphragm wall.
Step 3. Slurry Preparation
Bentonite slurry or polymer slurry is prepared before and during excavation.
The slurry fills the trench and supports the trench walls, helping keep the trench stable while excavation continues.
You need to monitor the slurry condition as work proceeds.
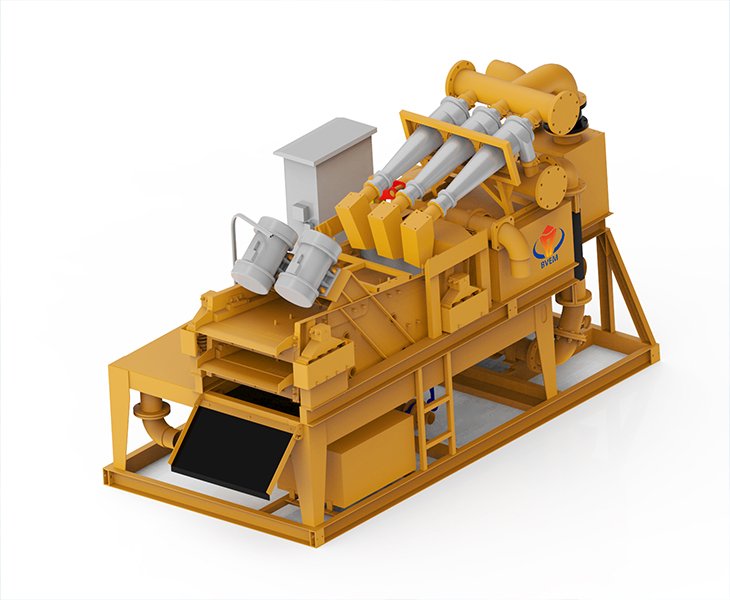
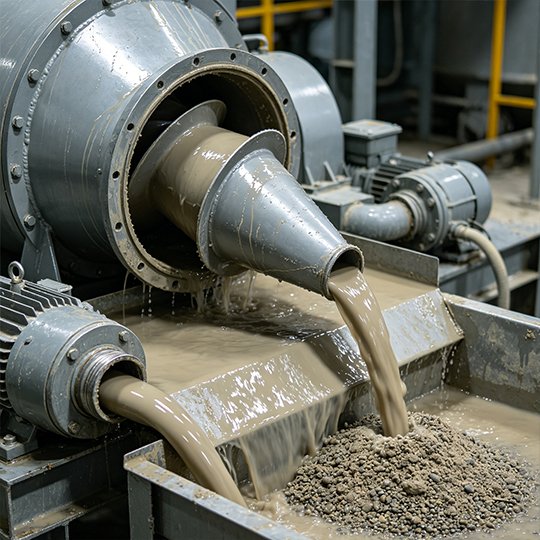
As the slurry becomes contaminated with soil and other particles, it can be circulated through a cleaning system, such as a desander. After cleaning, the slurry can be returned to the trench if it is still suitable for use.
Step 4. Trench Excavation
The excavation equipment digs each panel to the required depth. During excavation, you need to make sure the trench reaches the required depth and remains vertical. Excavated material is removed from the site as work continues. The slurry stays in the trench to help support the trench walls during excavation. The trench is checked carefully before moving on to the next step.
Step 5. Trench Cleaning and Panel Joint Preparation
Once the required depth is reached, sediment and loose material are removed from the bottom of the trench. The trench depth and condition are checked before the reinforcement cage is installed. At the same time, the panel joints or stop-end system are prepared so that the next panel can be connected correctly.
Step 6. Reinforcement Cage Installation
The reinforcement cage is lowered into the cleaned trench using suitable lifting equipment. The cage must be positioned correctly inside the panel. Its dimensions, level, and concrete cover should be checked before concrete placement. Careful positioning helps keep the reinforcement in the correct position while the concrete is poured.
Step 7. Concrete Placement
A tremie pipe is put in place before concrete is poured. Concrete is placed continuously from the bottom of the trench. As the concrete level rises, it pushes the slurry upward. The slurry system collects and handles the rising slurry. Concrete placement continues until the panel reaches the required level and the panel is completed.
What Methods Are Used for Diaphragm Wall Construction?
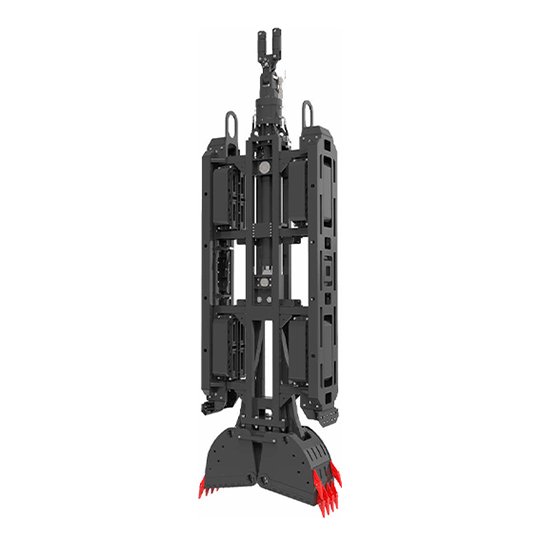
There are two ways to build a diaphragm wall: the diaphragm wall grab method and the trench cutter method.
Diaphragm Wall Grab Method
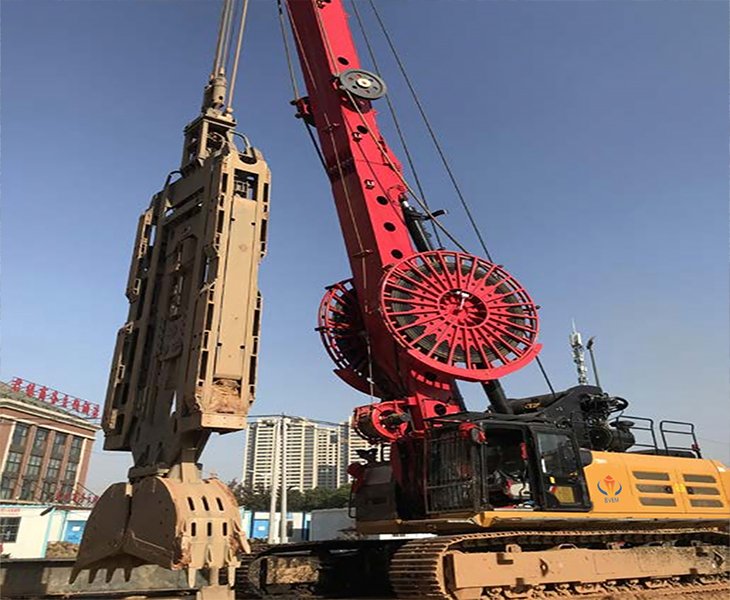
The diaphragm wall grab method digs the trench one panel at a time. The grab is lowered into the trench to loosen and remove the soil, then lifted out to release the excavated material. You repeat this grab-and-lift cycle until the required depth is reached. Hydraulic grabs are powered by cylinders, while cable grabs are operated by the crane’s cable system.
The grab method can be used in ground conditions such as soft soil, sand, clay, and gravel.
Trench Cutter Method
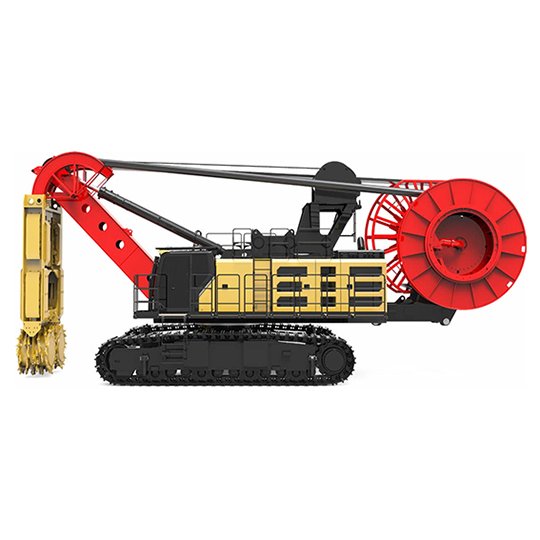
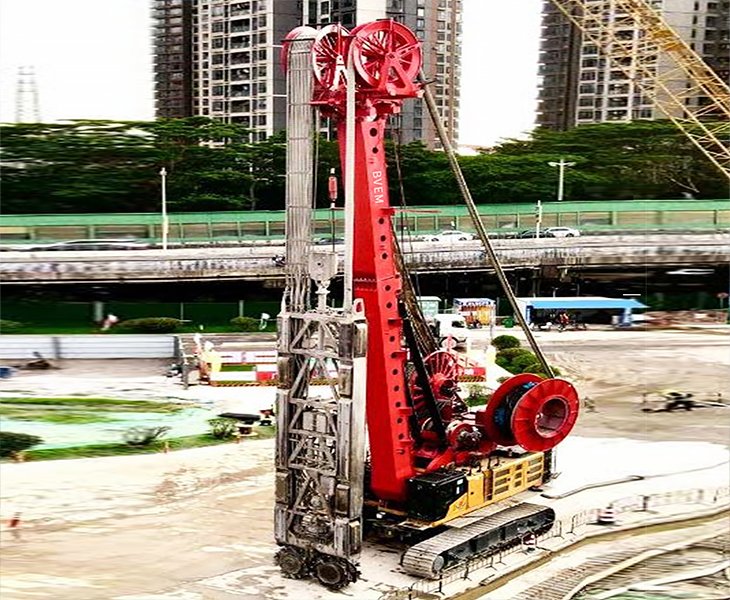
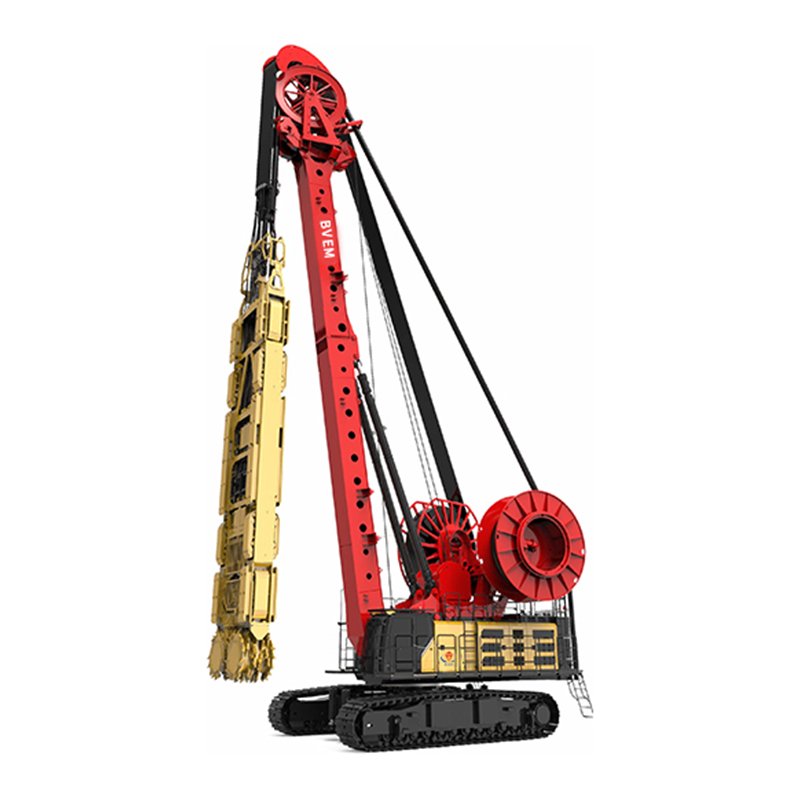
The trench cutter method uses rotating wheels that continuously cut the ground and remove the cut material. While the cutter works, slurry is pumped into the trench to keep the walls stable and move the cut material up to the surface for cleaning. Trench cutters are usually chosen when you need to dig deeper or when the ground is hard, such as dense soil, weathered rock, or hard rock. Unlike the grab method, the trench cutter keeps cutting instead of using repeated grab-and-lift cycles.
Diaphragm Wall Grab vs Trench Cutter
A diaphragm wall grab and a trench cutter both excavate slurry-supported trenches, but they use different excavation methods. The main differences are how they excavate, the equipment setup, and the types of projects you may use them on.
| Factor | Diaphragm Wall Grab | Trench Cutter |
| Excavation method | Cyclic | Continuous |
| Equipment setup | Usually mounted on a crane | Dedicated cutter system |
| Typical use | Suitable for many soil conditions and conventional panel excavation | Used for deeper excavation and harder ground |
| Main selection factors | Ground conditions, trench depth, and crane availability | Ground conditions, trench depth, and required cutting capacity |
The choice depends on your project conditions, as no single method is best for every diaphragm wall project.
How Do You Choose the Right Diaphragm Wall Equipment?
Choosing the equipment for a diaphragm wall begins with understanding your project requirements. Before you pick the equipment, you must confirm the wall thickness, trench depth, panel length, soil or rock conditions, and groundwater conditions. These details provide the information needed to determine the proper equipment configuration.
The equipment you already have on site is another factor. If you intend to use a crane, provide its model, lifting capacity, working radius, hydraulic flow, and hydraulic pressure. The selected equipment must match the crane and the working conditions.
You must also consider the required production rate and project schedule. If the project requires a certain number of diaphragm wall panels each day, the equipment must have enough capacity to meet the required production rate.
Providing these project and equipment details allows the supplier to suggest a suitable configuration for your diaphragm wall work.
Frequently Asked Questions
What Type of Slurry Is Used for Diaphragm Wall Construction?
Bentonite slurry or polymer slurry is commonly used to support the trench walls during diaphragm wall excavation. You need to monitor the slurry during excavation because soil and other particles can enter it. If this happens, the slurry may lose its required condition.
A Desander can remove sand and solid particles from the slurry, allowing you to reuse it when it still meets the required condition. If the slurry requires further treatment, a filter press can separate water from fine solids and reduce the amount of waste slurry that needs to be disposed of.
What is the difference between a retaining wall and a diaphragm wall?
A retaining wall is a structure that holds back soil or water from an excavation or lower area. A diaphragm wall is a type of retaining wall. It is built in sections inside a trench, with each section constructed directly in the ground. With a diaphragm wall, you do not need to excavate behind the wall. It can also become part of the permanent structure, especially in deep basements and other underground projects.
How deep can a diaphragm wall be constructed?
Diaphragm walls can be constructed to depths of more than 50 meters, depending on the project and equipment used. For projects that go deeper, it may be necessary to use special equipment such as trench cutters. The depth that a diaphragm wall can reach depends on the excavation method, the type of soil and rock, the wall thickness, the amount of groundwater, and the capacity of the equipment. Before you start building a diaphragm wall, you should compare the required depth with the working range of the diaphragm wall grab or trench cutter. You should also check whether the slurry-supported trench is stable.
What are the challenges of diaphragm wall construction?
The main challenges are keeping the trench stable, making sure the panels are vertical, handling the support slurry, and making sure the panels are joined properly. You also have to watch the quality of the steel cage and the concrete that is poured into the trench. Groundwater, tough soil or rock, hidden underground obstructions, and limited space to work can make the job harder. Choosing the right tools and watching the work closely can help you manage these problems during construction.
What Factors Affect Diaphragm Wall Construction Cost?
The cost of diaphragm wall construction depends on the depth of the wall, the thickness of the wall, and the total length of the wall, as well as the conditions of the ground and the groundwater. The method of excavation and the equipment used can also affect the cost, especially when hard soil or rock demands specialized equipment. Other costs can arise from slurry treatment, reinforcement cages, concrete, labor, and site preparation. Before estimating the cost, you should consider the construction process and the equipment required for your particular project.
BVEM Diaphragm Wall Equipment and Project Support
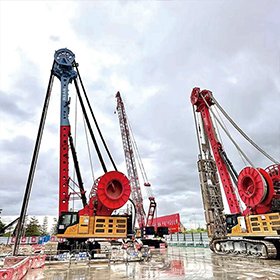
BVEM combines research and development, manufacturing, and global after-sales support to deliver diaphragm wall equipment solutions. BVEM’s diaphragm wall grabs and trench cutters are designed to handle a range of ground conditions and deep excavation challenges. These machines are backed by experience from construction projects around the world. If you are preparing for a diaphragm wall project, reach out to BVEM to discuss your equipment needs.